7 Simple Putting Drills You Can Do At Home (Without a Green!)
Three-putts are the silent killers of a good scorecard. We spend hours at the driving range trying to gain 10 more yards off the tee, but what about the shots that truly count? The truth is, mastering the flat stick is the fastest way to slash your handicap, and the best part is you don’t even need to be at the golf course to do it.
So, how do you practice when you can’t get to the course? Your living room carpet. In my experience, consistent, focused practice at home, even for just 15 minutes a day, can have a more significant impact on your scoring than a weekly two-hour session on a crowded practice green. It builds muscle memory, refines your mechanics, and instills a level of confidence you can carry straight to the first tee.
This guide is built for the golfer who wants to improve but is short on time or access to a green. We’ll dive into the simple putting drills you can do at home without a green, using items you already have lying around the house.
Key Takeaways: Quick Guide to At-Home Putting
- Consistency is Key: Short, daily practice sessions at home are more effective than infrequent, long ones.
- No Green, No Problem: A standard living room carpet is all you need to work on the fundamentals of your putting stroke.
- Focus on Fundamentals: At-home practice is perfect for drilling in a square clubface, consistent stroke path, and pure strike.
- Use Household Items: You don’t need expensive gadgets. Coins, rulers, books, and coffee mugs make excellent training aids.
- Distance and Direction: The drills below cover both critical aspects of putting: starting the ball on the right line and controlling your speed.
Why Bother With Indoor Putting Practice?
Before we get to the drills, let’s talk about the why. Is practicing on a carpet that’s slower than a course green really worth it? Absolutely.
The goal of home practice isn’t to perfectly simulate an 18-speed Stimp green. The goal is to groove a repeatable, fundamentally sound putting stroke. When you’re at home, you remove the distractions of reading breaks and slopes. This allows you to focus 100% on the mechanics:
- Building Muscle Memory: Repetition is the mother of all skill. Hitting hundreds of putts on your carpet ingrains the feeling of a proper stroke.
- Improving Your Stroke Path: Many of these drills are designed to give you instant feedback on whether your putter is moving straight back and straight through.
- Ensuring a Square Clubface: The most critical factor in starting your putt on line is having a square clubface at impact. Home drills make this easy to monitor.
- Developing a Pure Strike: Hitting the ball in the center of the putter face is crucial for distance control. You’ll get instant feedback when you miss the sweet spot.
Setting Up Your At-Home Practice Station
You don’t need much to get started. Find a relatively flat piece of carpet in your home—a hallway or living room is perfect.
Your Basic Toolkit:
- Your putter
- 3-5 golf balls
- A target (a coffee mug on its side works perfectly)
- A few household items for drills (coins, a ruler, two thick books)
What I’ve found works best is to find a spot that gives you at least 8-10 feet of clear space. This allows you to practice those crucial short-to-mid-range putts that save pars. Make sure the area is well-lit so you can clearly see your alignment and the ball’s roll.
7 Simple Putting Drills You Can Do At Home
Here are seven of my favorite and most effective drills. I recommend starting with the first few to build a solid foundation and then incorporating the others as you get more comfortable.
Drill 1: The Coin Stack Drill (For a Pure Strike)
This is the ultimate drill for learning to strike the ball with a slight upward motion, which gets the ball rolling purely instead of hopping or skidding.
- How to Set It Up: Place two stacks of three coins each on the floor, just wide enough for your putter to fit between them. Place the golf ball directly in front of the coin stacks.
- What to Do: Take your normal putting stroke. Your goal is to strike the ball without hitting either stack of coins.
- The Payoff: To miss the coins, you must have a perfect, level-to-slightly-ascending strike. If you hit the coins, it means your stroke is either descending (chopping down) or not centered. Aim to make 20 clean strikes in a row.
Drill 2: The Ruler Line Drill (For a Square Clubface)
If you can’t start the ball on your intended line, nothing else matters. This drill gives you immediate, undeniable feedback on your clubface alignment at impact.
- Arranging the Drill: Place a standard 12-inch metal or wooden ruler on the carpet. Place your ball in the small hole or notch at the end of the ruler.
- The Challenge: The goal is to putt the ball so that it rolls along the entire length of the ruler without falling off either side.
- Why It’s a Game-Changer: The only way the ball will stay on the ruler is if your putter face is perfectly square to the ruler’s edge at the moment of impact. Even a slightly open or closed face will send the ball veering off the side. This is a tough drill, but mastering it is a game-changer. For more guidance on finding the right tool for the job, check out our [Guide on Choosing the Right Putter for Your Stroke].
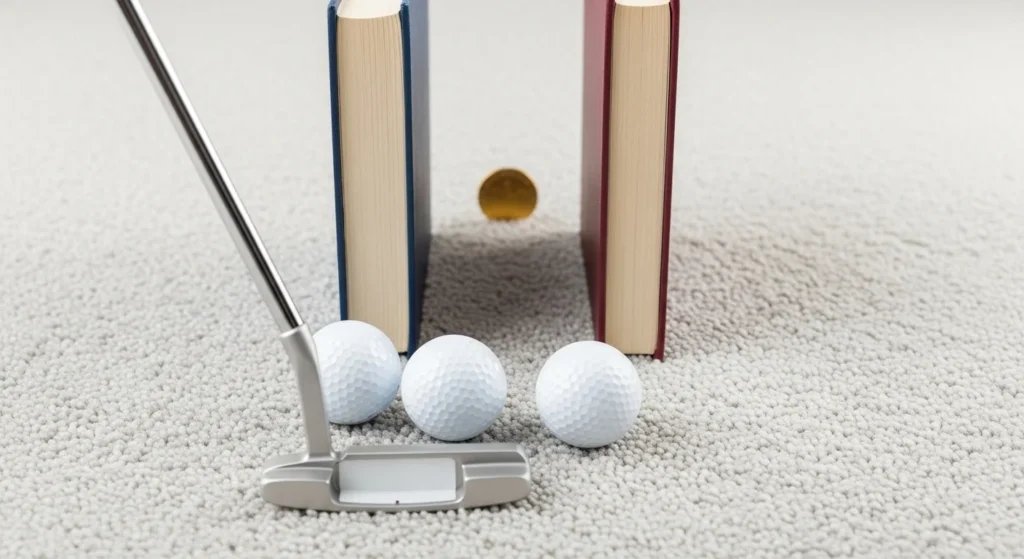
Drill 3: The Gate Drill (For a Consistent Path)
This classic drill, popularized by Tiger Woods, is fantastic for ensuring your putter travels straight back and straight through on the correct path.
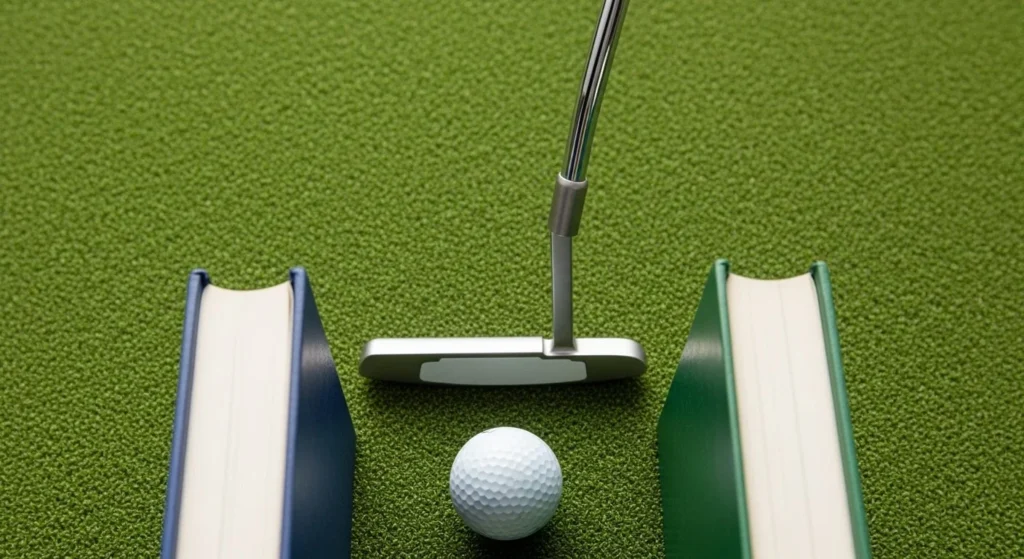
- Creating Your Gate: Find a straight 4- to 5-foot putt. Place two objects (thick books, water bottles, or even two golf balls) on either side of your putter head, creating a “gate.” Leave about a quarter-inch of space on both the toe and heel side of your putter.
- Swinging Through: Take your stroke, focusing on swinging the putter through the gate without touching either side, both on the backswing and the follow-through.
- The Instant Feedback: It provides instant feedback. If you hit the inside object, you’re taking the putter too far inside. If you hit the outside object, your path is “outside-to-in.” A clean pass means your stroke path is pure.
Pro Tip: As you get better, make the gate narrower to increase the difficulty.
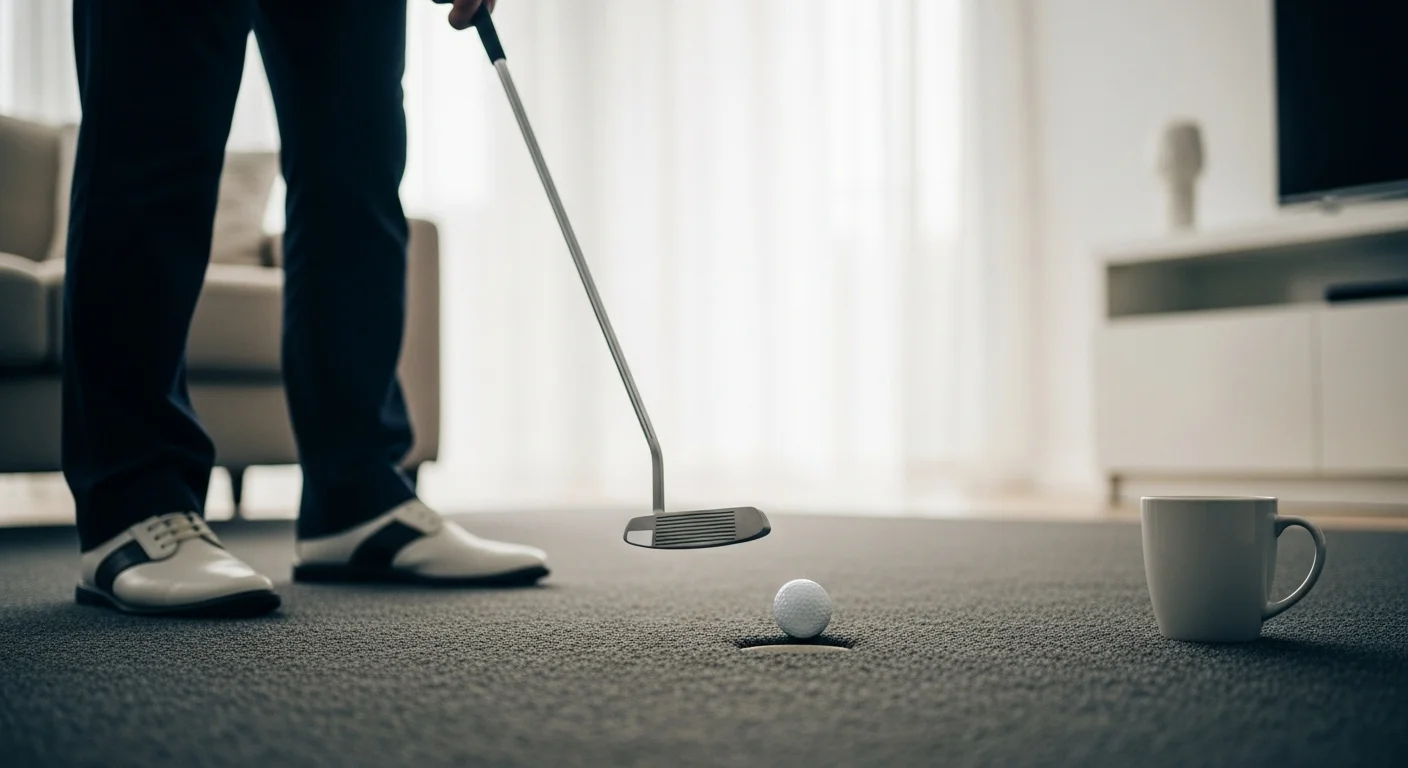
Drill 4: The Clock Drill (For Short Putt Pressure)
This drill is a staple for building confidence on those nervy 3- and 4-footers. It helps you get used to the idea that every short putt must go in.
- Setting the Clock: Place your target (a mug) in the center. Place 12 golf balls in a circle around the mug, like numbers on a clock, at a distance of about 3 feet.
- Going Around the World: Work your way around the “clock,” sinking each putt. If you miss one, you must start over from the beginning.
- Building Pressure-Proof Confidence: It simulates pressure and forces you to focus on every single putt. Completing this drill gives you immense confidence that you can handle any short putt the course throws at you. For more tips on handling pressure, see our guide on [The Ultimate Golf Pre-Shot Routine].
Drill 5: The Ladder Drill (For Distance Control)
Distance control, or speed, is arguably more important than direction. This drill is the best way to develop a feel for how far the ball will roll with different stroke lengths, even on a carpet.
- Building the Ladder: Place a target against a wall (like a pillow or book). From about 3 feet away, place a golf ball. Place a second ball at 5 feet, a third at 7 feet, and a fourth at 9 feet, creating a “ladder.”
- Climbing the Rungs: Start with the closest ball and putt it so it just touches the target. Then, move to the next ball and do the same. The goal is to get each ball to gently tap the target without it bouncing back hard.
- Developing a Feel for Speed: It forces you to subconsciously adjust the length and pace of your stroke for different distances. This builds an incredible feel for speed control that translates directly to the course, helping you avoid those dreaded three-putts.
Drill 6: The Backstroke-Only Drill (For Tempo)
Many golfers ruin putts with a jerky, inconsistent tempo. This drill smooths out your rhythm by focusing on the transition from backstroke to forward stroke.
- Getting Ready: Address a 6-foot putt as normal.
- The Pause and Go: Take your normal backstroke, but pause for a full two seconds at the very top. After the pause, complete your stroke through the ball.
- Finding Your Rhythm: The pause eliminates any tendency to rush the transition. It forces you to start the downswing smoothly and accelerate through the ball, which is the key to a great putting tempo.
Drill 7: The One-Handed Drill (For Feel)
If your hands are too active in your putting stroke, it can lead to inconsistency. This drill helps you use the big muscles (shoulders and arms) to control the stroke.
- Your Stance: Choke down on your putter and set up to a 4-foot putt.
- Isolating Your Hands: Using only your dominant hand (your right hand if you’re a right-handed golfer), make 10-15 strokes. Then switch and do the same with only your trail hand.
- Engaging the Big Muscles: It’s impossible to control the putter with just one hand if you’re flicking your wrists. This drill forces you to create a smooth, rocking motion with your shoulders, which is the engine of a reliable putting stroke.
Taking Your Practice to the Next Level
Once you’ve mastered these drills, you might consider investing in a high-quality putting mat to elevate your practice. While not necessary, a good mat like the popular Perfect Practice Putting Mat offers a truer roll and helpful alignment lines.
For more advanced feedback, a Putting Alignment Mirror can also be an excellent tool to ensure your eyes are directly over the ball—a key fundamental taught by many pros—without breaking the bank.
Frequently Asked Questions (FAQ)
Absolutely. While a carpet doesn’t perfectly mimic a real green’s speed, it’s an ideal surface for working on the core mechanics of your stroke: path, face angle at impact, and a pure strike. Nailing these fundamentals at home will make you more consistent on any green you play on.
Consistency is more important than duration. A focused 15-minute session every day is far more beneficial than a single 2-hour session once a week. It’s all about building and reinforcing good habits and muscle memory.
Not at all. As this guide shows, you can get incredible practice using everyday household items like coins, rulers, and books. These simple tools provide the instant feedback you need to improve without breaking the bank.
Start by focusing on starting the ball on your intended line. Drills like the Ruler Drill and the Gate Drill are perfect for this. If your ball starts on line, the only other variable is speed, which you can work on with the Ladder Drill. For more information on fundamentals, the PGA of America offers excellent resources on putting mechanics.
Final Thoughts: Master Your Putting at Home for Lower Scores
You don’t need a perfectly manicured green or expensive technology to become a better putter. The path to sinking more putts and lowering your scores can start right in your living room. By dedicating just 10-15 minutes a day to these simple putting drills you can do at home without a green, you will build a solid foundation, gain unshakable confidence, and see real results on the course.
Remember, the goal is progress, not perfection. Focus on one or two drills per session and celebrate the small victories.
Which of these drills are you going to try first? Do you have another favorite at-home putting drill? Share your thoughts in the comments below!